I got into photography and immediately chose friction.
I picked up the Pentax 17, a half-frame film camera. It captures two 17x24 mm photos on a single 35 mm frame.
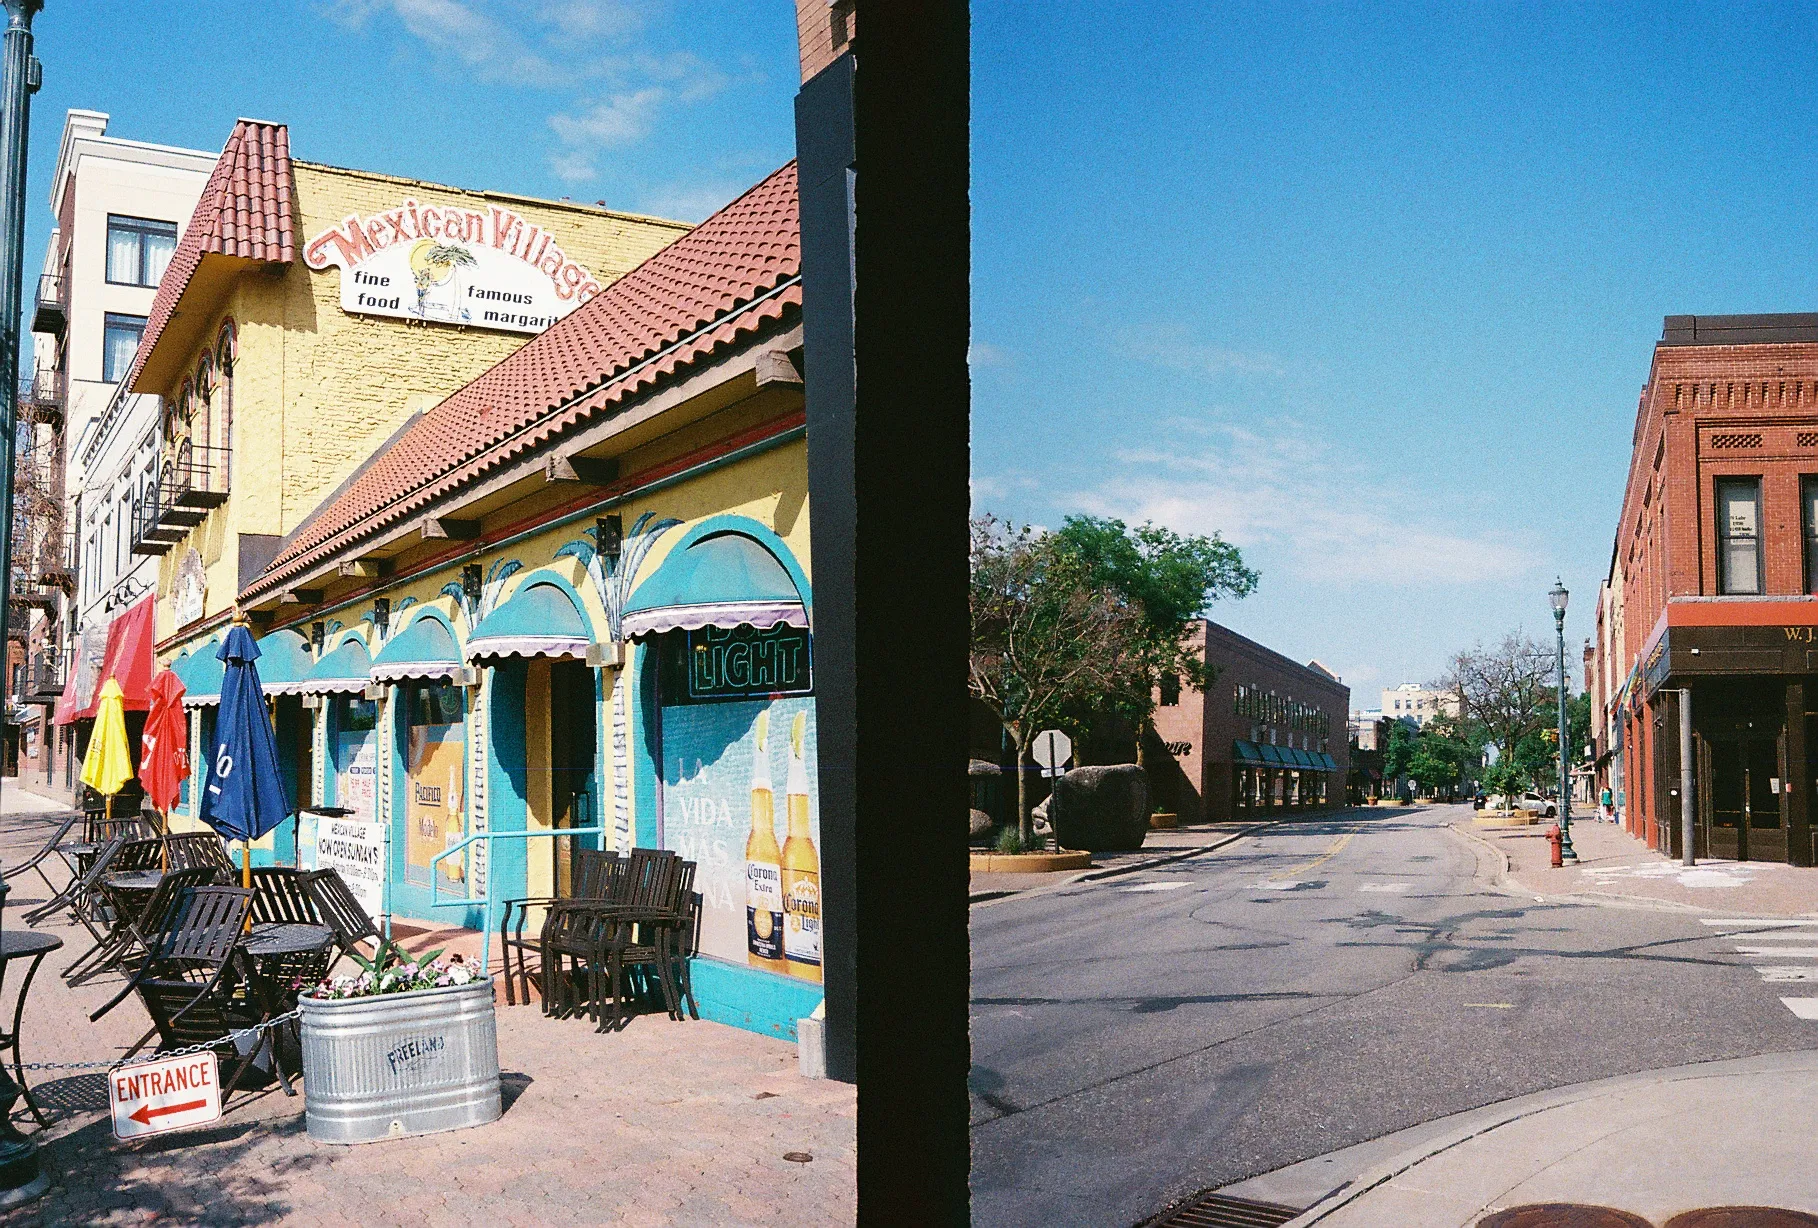
That means every lab scan comes back as one JPEG with two images stuck together.
At first, manual cropping feels fine.
Then you do it 50 times.
Crop. Save. Repeat. Crop the wrong edge. Save. Repeat again. Miss a few pixels. Notice later. Sigh.
So I built a pipeline with Node.js and Sharp that splits each scan into two frames automatically, then exports them at consistent, high-quality dimensions.
This post is the deep dive. Not just the “here is the code” version.
The Problem
My lab returns each scan as a single JPEG that contains:
- Two frames, side by side
- A dark vertical divider between frames
- Divider widths that vary (usually 10 to 110 px, sometimes 300 to 900 px)
- Slightly inconsistent crop geometry from scan to scan
- A need for consistent output sizing without wrecking quality
The job is:
- Detect the divider.
- Crop left and right frames.
- Export both frames at uniform dimensions.
- Avoid unnecessary cropping and avoid pointless bars.
Letterboxing adds black bars to match a target size. It preserves content but wastes pixels and lowers effective resolution.
The Approach
I went with a two-pass pipeline.
Why two passes?
Because “pick a target size” is not a guess. It is something you can measure.
Pass 1: Analyze
- Detect divider
- Measure crop boxes
- Collect aspect ratios
Pass 2: Process
- Extract frames using the measured crop regions
- Resize using the target size derived from real data
- Encode with settings that preserve scan quality
This adapts to scan variation instead of relying on fixed coordinates.
Image Processing Pipeline
1. Convert to grayscale
Divider detection gets easier if the image becomes one channel.
const grayBuffer = await image.clone().grayscale().raw().toBuffer();Why grayscale?
- One intensity channel, less noise
- Dividers are dark regardless of color
- Less sensitivity to weird color casts from scanning
Sharp’s .grayscale() uses a luminance formula (BT.709):
Y = 0.2126 R + 0.7152 G + 0.0722 BThat matches human perception pretty well, which matters when you are trying to find “the dark thing” in a scan.
.raw() gives you an uncompressed byte buffer:
- one byte per pixel (0 to 255)
- row-major order
- direct access, no decoding overhead
2. Compute column intensity
The divider runs vertically.
So instead of trying to detect edges in 2D, I compress the image into a 1D signal.
Average brightness per column.
const columnIntensity = Array.from({ length: width }, (_, x) => {  let sum = 0;
  for (let y = 0; y < height; y++) {    const pixel = grayBuffer[y * width + x];
    if (pixel) sum += pixel;  }
  return sum / height;});
y * width + x converts 2D coordinates into a 1D index.
Why vertical averaging?
- Divider spans top to bottom
- Averaging removes horizontal texture and grain noise
- You get a clean profile: bright frame, dark divider, bright frame
3. Smooth the signal
Film grain and scan artifacts make the curve noisy.
So I smooth the intensity profile using a moving average.
const smooth = (array: number[], windowSize: number) => {  const half = Math.floor(windowSize / 2);
  return array.map((_, i) => {    const start = Math.max(0, i - half);    const end = Math.min(array.length, i + half + 1);    const slice = array.slice(start, end);
    return slice.reduce((a, b) => a + b, 0) / slice.length;  });};
const smoothed = smooth(columnIntensity, 15);
Why a 15 px window?
- Big enough to kill single-pixel junk
- Small enough to keep the divider edges sharp
After smoothing, the divider shows up as a valley you can trust.
4. Detect divider boundaries
Once I have the smoothed curve, I find the darkest column.
That is the valley center.
Then I expand left and right until brightness rises above a threshold.
const minValue = Math.min(...smoothed);const threshold = minValue * 1.25;const minX = smoothed.indexOf(minValue);
let start = minX;while (start > 0 && smoothed[start] < threshold) start--;
let end = minX;while (end < smoothed.length && smoothed[end] < threshold) end++;
let dividerStart = Math.max(0, start - 2);let dividerEnd = Math.min(width, end + 2);
Two details matter here:
- Threshold at 1.25x the minimum: divider edges are often brighter than the center, so you need tolerance.
- 2 px margin: I would rather include a couple divider pixels than shave a frame edge.
If detection collapses into a tiny region, I enforce a minimum divider width:
if (dividerEnd - dividerStart < 10) {  const center = minX;  const half = 5;
  dividerStart = Math.max(0, center - half);  dividerEnd = Math.min(width, center + half);}
This avoids weird “divider is one column wide” failures.
5. Compute crop regions
Once the divider is known, cropping is geometry.
I compute left and right crop starts.
I also avoid assuming the divider is perfectly centered.
const leftCropWidth = Math.min(  dividerStart - cropPadding,  width - dividerEnd - cropPadding,);
const bleed = 6;const leftCropStart = Math.max(0, dividerStart - leftCropWidth - bleed);const rightCropStart = Math.min(width, dividerEnd + bleed);
Why use the narrower side?
Because it guarantees symmetry even if the scan is shifted.
Why the 6 px bleed?
Because “crop too tight” is worse than “include a few dark pixels”.
I also store aspect ratios for the next step:
aspectRatio: cropWidth / cropHeight;6. Two-pass optimization
Pass 1 collects aspect ratios for every extracted frame.
Pass 2 needs a single target output size.
So I pick a target width and compute height using the median ratio.
const allAspectRatios = analysisResults.flatMap((r) => [  r.leftCrop.aspectRatio,  r.rightCrop.aspectRatio,]);
const medianAspectRatio = median(allAspectRatios);
const targetSize = {  width: 900,  height: Math.round(900 / medianAspectRatio),};
Why median?
- outliers exist
- median ignores them
- it represents the “typical” scan
In practice this landed around 900x1300 px.
To sanity check, I measure how many ratios land near the target:
const tolerance = 0.05;const perfect = ratios.filter( (ratio) => Math.abs(ratio / targetAspectRatio - 1) <= tolerance,).length;That gave me:
- 89% perfect fit
- 5% minor crop
- 6% small bars
That is exactly the tradeoff I wanted.
7. Extract and resize
Pass 2 does the real work.
Extract each frame and resize into the target box.
await image .clone() .extract(leftCrop) .withMetadata() .resize(targetSize.width, targetSize.height, { fit: "cover", position: "attention", kernel: sharp.kernel.lanczos3, }) .jpeg({ quality: 100, progressive: true, chromaSubsampling: "4:4:4", }) .toFile(outputPath);Key settings:
fit: "cover"fills the target size with minimal croppingposition: "attention"uses saliency detection to preserve important featureskernel: lanczos3gives high-quality resampling with low aliasing
8. JPEG re-encoding choices
The lab already delivered JPEGs.
So every save is another generation.
I kept re-encoding as gentle as possible:
.jpeg({ quality: 100, progressive: true, chromaSubsampling: "4:4:4",});- quality 100: near-lossless in practice
- progressive: nicer perceived loading behavior
- 4:4:4 chroma: full color detail, which matters for film texture and subtle gradients
9. Parallel processing
Each scan yields two outputs.
So I process both concurrently:
await Promise.all([processLeftFrame(), processRightFrame()]);It is a small change with an obvious win.
More throughput, less waiting.
Results
On a batch of 112 images (224 frames):
- 3 skipped due to invalid dimensions
- Optimal size: 900x1300 px
- 89% perfect fit
- 11% small crop or bars
- Divider width typically 10 to 110 px, with 300 to 900 px outliers
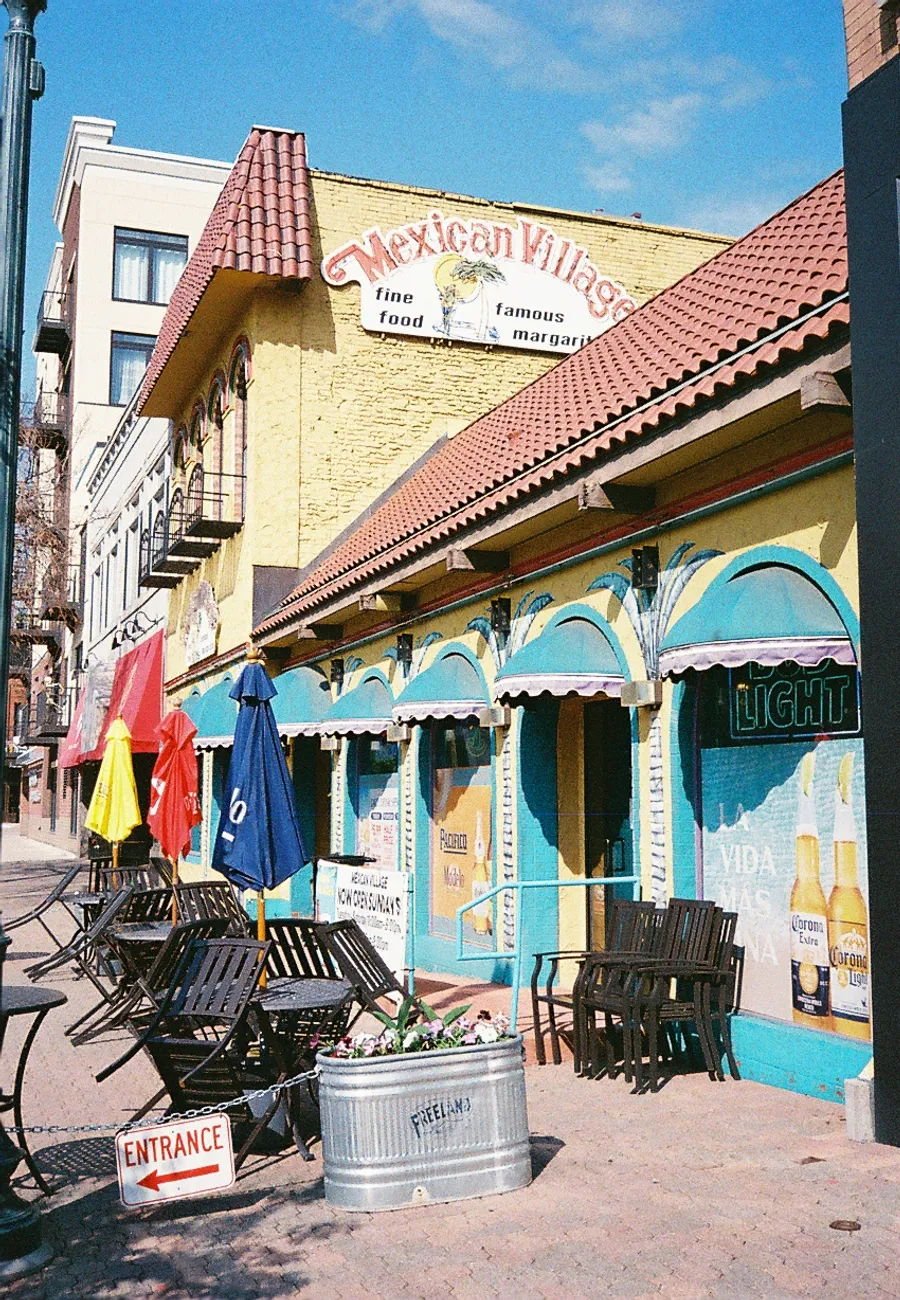
Frame 1
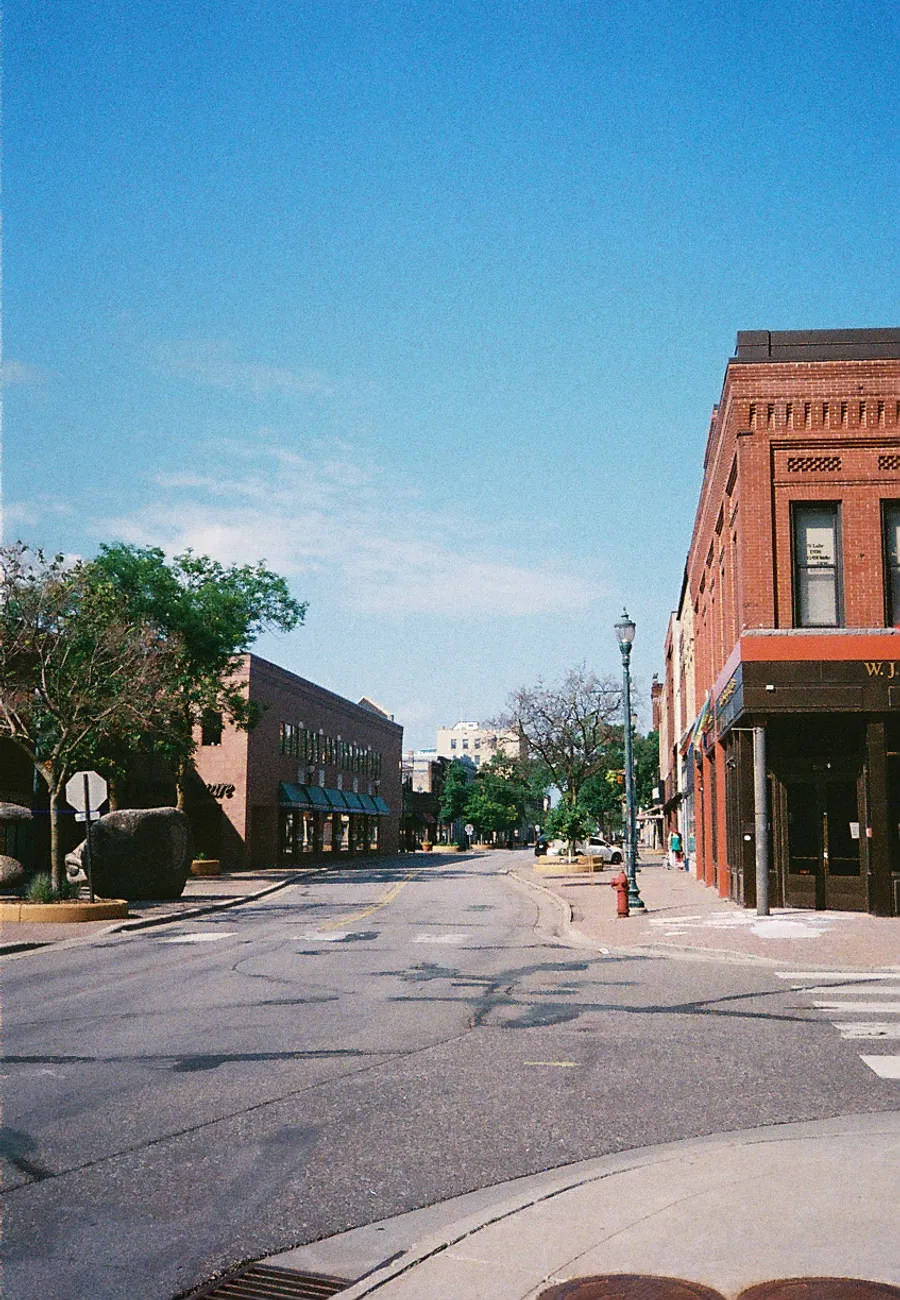
Frame 2
Edge Cases
Very narrow dividers (10 to 16 px) Frames nearly touch. Minimum-width enforcement prevents collapse.
Very wide dividers (300 to 900 px) Usually double exposures or scan errors. Detected and flagged for review.
Invalid crop geometry Zero or negative crop sizes are skipped automatically.
Conclusion
This started as “I do not want to crop these by hand.”
It turned into a compact image-processing pipeline:
- Reduce the problem to a stable 1D signal
- Detect the divider valley reliably
- Use real scan ratios to pick a target size
- Resize with high-quality sampling
- Re-encode in a way that does not destroy the scan
The two-pass approach is the big win.
Analyze first. Then process with confidence.
If you shoot half-frame, this saves hours. It also makes the output consistent enough that you stop thinking about the scans and start thinking about the photos.
Full source code is available as a reference implementation for automated film scan splitting.